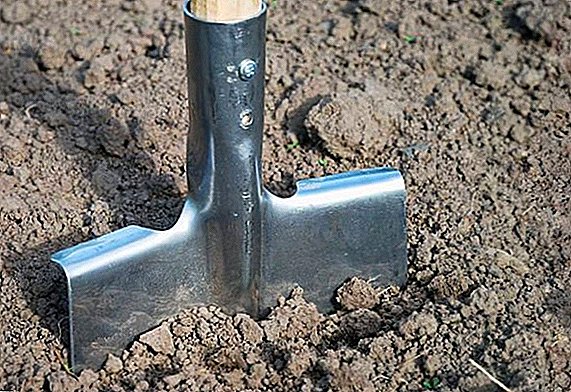
 Today, planting potatoes in the garden is facilitated by the use of technology for planting and processing the site.
What to do if the site is small and the use of technology on it is inappropriate, or for it there is no approach - let's look at this article.
Soil preparation
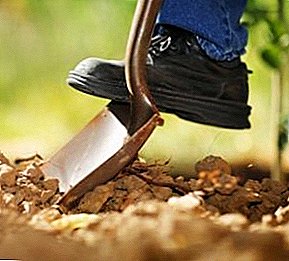
Potatoes "under the shovel" are planted in the spring, but preparatory work on the site has been carried out since autumn. The site is dug up, cleared of plant sediments and adjusted to the characteristics required for potato growth. 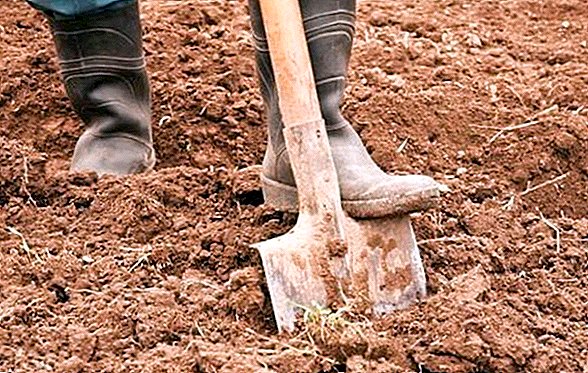
Soil structure
The sandy type of soil is suitable for culture: it is loose, it is well permeable to moisture, without delaying it, it is breathable. If the soil is clay, it can be corrected by making sand or ash.
Did you know? In addition to the fact that the tubers can be of different colors, even blue and black, there is a kind of potato growing on trees that takes root in the crevices of the bark or hollows.
Acid reaction of the soil is important for a good harvest, the potato prefers a range of 5.1-6 pH.
Weeds will help determine the soil reaction on your site:
- if oxalic (horsetail, buttercup, plantain) prevail - the soil is acidic;
- wheatgrass, chamomile, coltsfoot dominate, and blackjack is neutral.
In order to reduce the acidity, it is necessary to add two glasses of lime per square meter along with fertilizers for autumnal digging. m 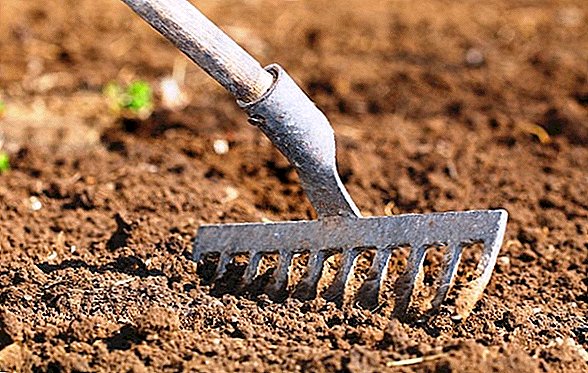
Ancestral Cultures
The best predecessors will be:
- cabbage;
- carrot;
- legumes;
- cucumbers.
You can plant after sunflower, pumpkin and corn, but it should be noted that these crops deplete the soil, after which it must be well fertilized and saturated with moisture before planting.
Important! It is not necessary to plant potatoes in the area where they grew up to this day: tomatoes, eggplants, peppers.
Fertilizer before planting
As soon as the top layer of the soil warms up and dries out from the meltwater, the pre-planting work begins: digging, loosening, clearing from weeds, fertilizer. 
From organic fertilizers, you can use manure, compost or humus: 6-7 kg per 1 square. m
Mineral complexes necessarily add mineral complexes: superphosphate, potassium and ammonium sulfate in equal parts (20 g).
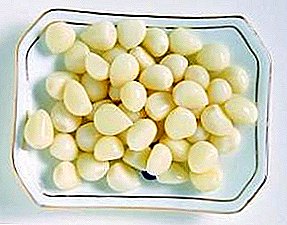
Tuber preparation
The key to a good harvest is, above all, high-quality planting material.
In the autumn
In the fall, planting material is sorted out, rejecting spoiled tubers, kept for three weeks under the sun. During this time, the surface of the tubers will turn green. Thus, the potato gets some immunity to the disease.
In the spring
Before planting, the material is again inspected for damage and processed. A few days before the planting procedure, the tubers are treated with "Heteroauxin", which stimulates growth and increases crop yield. And to protect against bacteria and viruses, tubers are immersed for a couple of minutes in a solution of potassium permanganate. 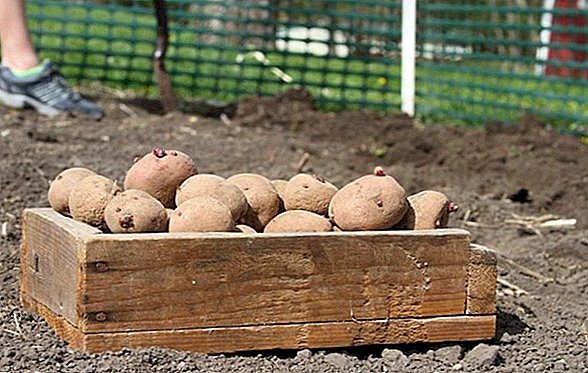
Landing options
Before planting, so that the beds are smooth and neat, put the beacons: pegs with a stretched cord. Rows should be placed in a direction from north to south.
You will also be interested to know how it is thought to plant potatoes before winter, how to grow potatoes in bags, according to Dutch technology, under straw.
Square nesting
The plot is divided into squares with the help of beacons, thus, the same distance between bushes and between rows is obtained - 60-80 cm. Plus schemes - in the absence of competition between plants for food and moisture.
In a hole 15 cm deep, fertilizer-dressing is placed on the bottom, then one or two tubers.
Between a pair of tubers should be at least 8 cm. 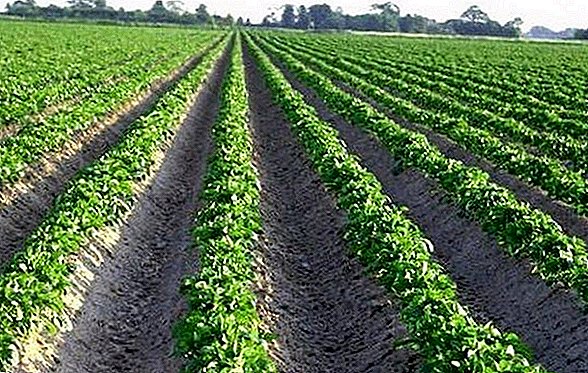
Chess
When landing in a staggered manner between the bushes leave a distance of about 40 cm, the same - between the rows. In each subsequent row, the hole shifts to the side. Fertilizer and one planting tuber are also placed on the bottom.
The depth of the pit should be no more than 15 cm. According to experienced gardeners, the method allows you to get more yield and save space, but caring for it is complicated due to the narrow row spacing. 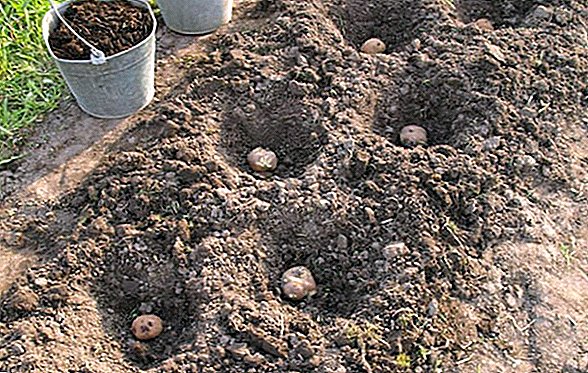
Two-line (according to Mittlider)
Putting pegs with markup, mark the plot as follows:
- two ridges with a width between them of 45 cm;
- wide meter passage;
- again two ridges with a narrow passage, etc.
The method allows you to effectively water and apply other treatments, weeding, loosening.
After the work has been done, the beds are dug up, except for wide aisles, adding fertilizer and scooping around the edge of the sides 15 cm high. On the surface of the beds they dig holes with a distance of 30 cm from each other, 10 cm deep. One tuber is put into each well. 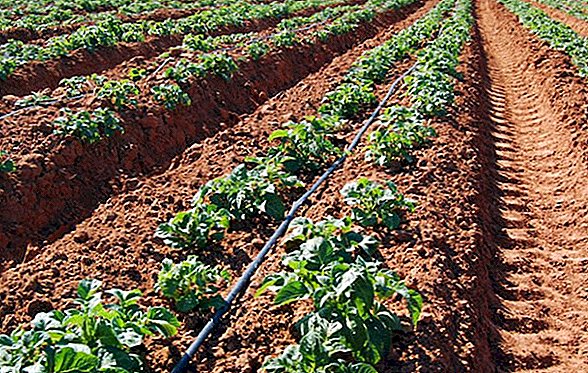
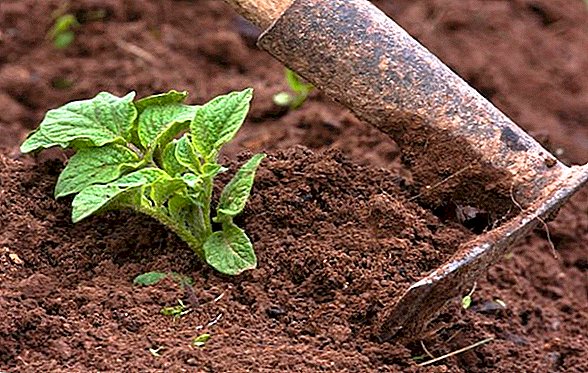
First hilling
If you planted using the Mittlider method, you do not need to spud the culture. With other methods, ten days after planting, loosening should be carried out in order to saturate the earth with oxygen; incidentally, if necessary, weeds should be removed.
Important! After planting the culture, regardless of which method was used, the pits fall asleep, and the surface must be leveled with a rake, breaking up clods of earth.For the first time spud upon reaching the tops of 20-centimeter height. Carry out the procedure carefully, so as not to damage the shoots. They are moved apart with a hand and covered with soil, leaving only leaves on the surface.
Video planting potatoes "under the shovel"
Detailed instructions with detailed explanations of planting culture can be viewed in this video:
Did you know? In the tourist town of Belgium Bruges there is a museum that tells about the travels of potatoes, its history, as well as many recipes of dishes, where it is the main ingredient.
At the first glance, many beginning vegetable growers, when planting garden crops, make minor mistakes that can lead to a lack of harvest. Therefore, in conclusion, we will give advice: explore all the possible nuances of growing and care, and then your efforts will not be in vain.